

The Appetizer That Never Gets Old
There are a handful of recipes that show up at every potluck, every backyard barbecue, every holiday gathering — and every single time, the tray is empty before anything else. Classic Deviled Eggs are one of those recipes. They’re the kind of dish that requires almost no explanation, no trend-chasing, and no specialty ingredients. You probably already have everything you need in your refrigerator right now. And yet, people lose their minds over them every single time they appear at a table.
For busy families and weeknight warriors, deviled eggs check every box. They’re made ahead — in fact, they’re better made ahead — they travel well, they feed a crowd without emptying your wallet, and they come together with pantry staples you already stock. A dozen eggs, some mayo, mustard, a splash of vinegar, and a dusting of paprika. That’s it. That’s the whole magic trick. The result is a creamy, tangy, silky filling nestled into a perfectly cooked egg white that looks like you spent way more time on it than you actually did.
Whether you’re packing them for a summer picnic, prepping for a weekend cookout alongside your Huli Huli Chicken spread, or just putting together a no-fuss appetizer platter for game night, this recipe is the one you’ll come back to again and again. Let’s make the best batch you’ve ever had.
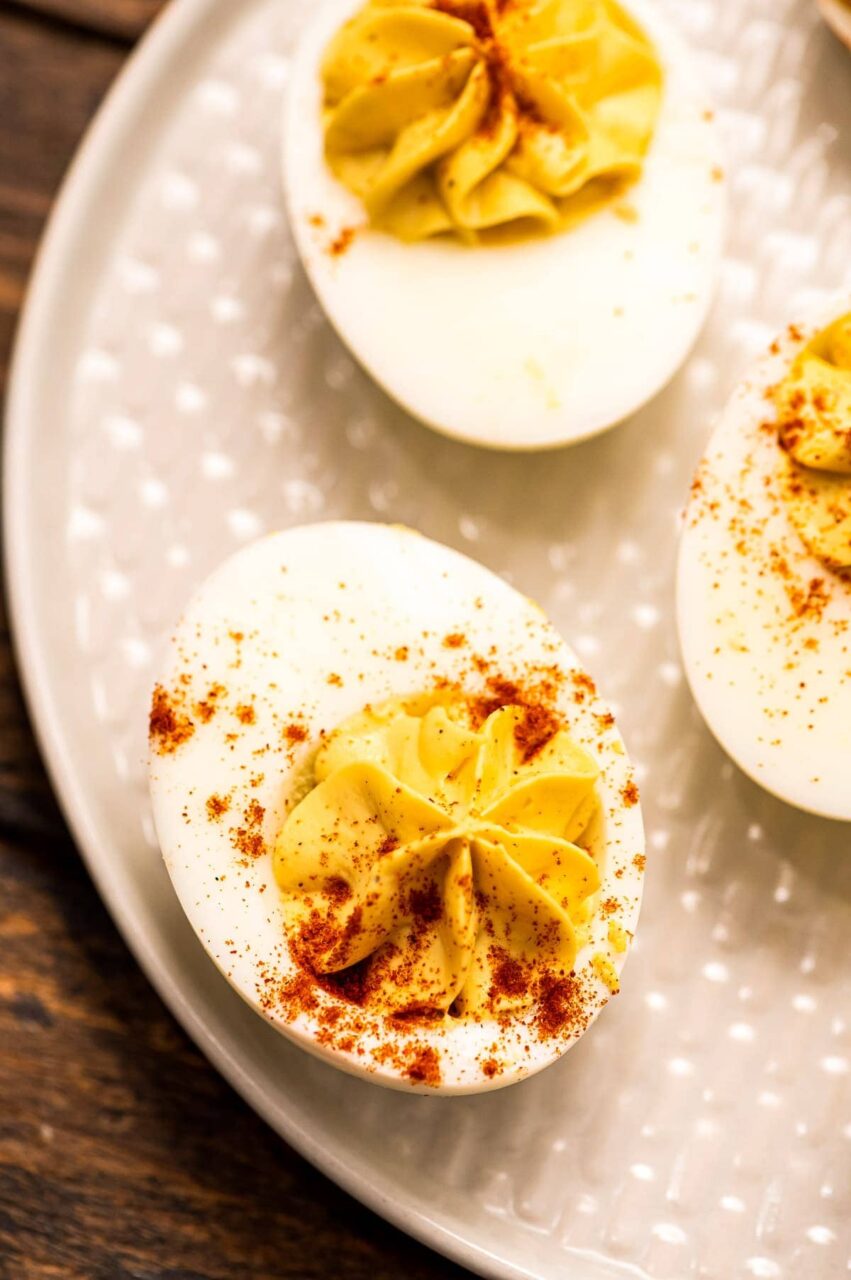
Why You’ll Love This Recipe
- Make-ahead friendly: You can boil and peel the eggs up to 3 days in advance and pipe the filling the night before your event — zero stress on party day.
- Budget-friendly: A dozen eggs costs less than two dollars in most grocery stores. This appetizer feeds 12 people for practically nothing per serving.
- No special equipment required: All you need is a pot, a bowl, a fork or hand mixer, and a zip-lock bag if you don’t own a piping bag.
- Crowd-pleasing every single time: There’s a reason this is a classic. The creamy, tangy filling hits every flavor note — rich, savory, slightly sharp — in one perfect bite.
- Customizable for picky eaters and adventurous ones alike: The base recipe is simple and familiar. The variations are endless. Win both sides of the table.
- Travels beautifully: Pack them in a deviled egg carrier or simply in a snug container — they hold their shape and stay fresh for hours.
Key Ingredients and Why They Matter
The beauty of Classic Deviled Eggs is that every single ingredient is doing real work. Start with large eggs — fresh-from-the-carton eggs are actually harder to peel after boiling, so if you can buy your eggs a week in advance or use ones that have been sitting in your fridge for a few days, you’ll have a much easier time getting clean, smooth whites. Mayonnaise is the backbone of the filling and delivers that signature richness and creaminess; full-fat mayo gives you the best texture and flavor, though you can swap in a lighter version if that’s what you keep on hand. Yellow mustard — not Dijon, not fancy whole grain, just good old yellow mustard — brings a tangy brightness that cuts through the richness of the mayo and gives the filling its classic flavor profile. A small splash of white wine vinegar or apple cider vinegar is the secret weapon here: it adds just enough acidity to make the filling taste alive and balanced rather than flat and heavy. Finally, sweet paprika does double duty — stirred into the filling for subtle warmth and depth, then dusted generously over the finished eggs for that iconic picnic-appetizer look. Don’t skip it, and don’t be shy with it.
Pro Tips & Variations
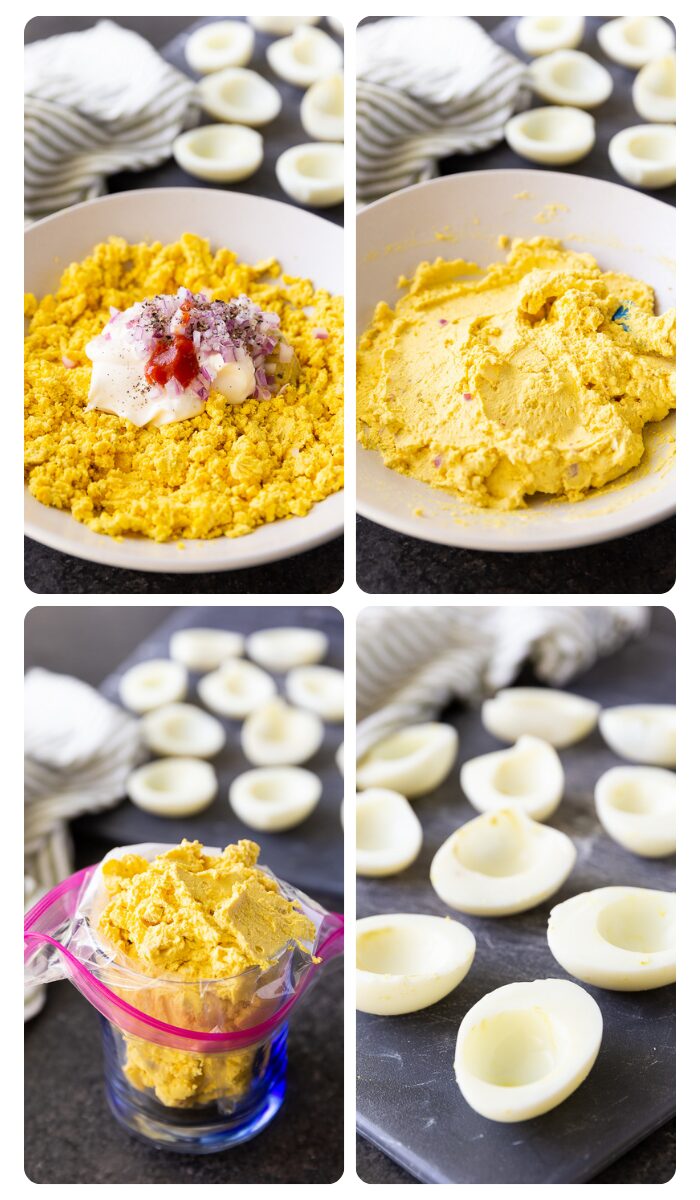
Getting Classic Deviled Eggs right is mostly about a few key technique moments. Here’s what separates a great batch from a merely good one:
The Perfect Hard-Boiled Egg
The number one complaint people have about deviled eggs is the dreaded gray-green ring around the yolk. That happens when eggs are overcooked. The fix is simple: bring your water to a boil first, gently lower the eggs in with a spoon, cook for exactly 11 minutes, then transfer immediately to an ice bath for at least 10 minutes. This method, recommended by the food scientists at Serious Eats, gives you a perfectly set, bright yellow yolk every single time with no rubbery whites and no gray ring.
Peeling Without the Frustration
Crack the shell all over by gently rolling the egg on the counter, then peel under a thin stream of cool running water. The water gets under the membrane and the shell practically slides off. Older eggs (5–7+ days) peel dramatically easier than very fresh ones, so plan your shopping accordingly.
Get a Smooth, Creamy Filling
Press the yolks through a fine mesh strainer or use a hand mixer for an ultra-silky filling. A fork works fine if you mix thoroughly, but the strainer method eliminates any lumps and gives you that professional, smooth finish.
Pipe Like a Pro (No Piping Bag Needed)
Spoon your filling into a zip-lock bag, press it into one corner, snip off a small piece of the corner, and pipe away. It takes 30 seconds and gives you beautiful, restaurant-style swirled filling every time.
Make-Ahead Strategy
Boil and peel your eggs up to 3 days ahead — store them whole in cold water in the fridge. Make the filling up to 24 hours ahead and store it in a piped bag in the fridge. Fill the eggs no more than 2 hours before serving for the freshest look and texture. This is the kind of make-ahead approach that makes entertaining feel effortless, similar to how we approach our Seven Layer Dip — maximum flavor, minimal day-of stress.
Fun Variations to Try
- Bacon Ranch: Mix in a tablespoon of ranch seasoning and top with crumbled crispy bacon — inspired by the same flavors we love in a good Bacon Ranch Burger.
- Spicy Sriracha: Add a teaspoon of sriracha and a dash of hot sauce to the filling, then top with a thin jalapeño slice.
- Avocado Deviled Eggs: Replace half the mayo with mashed ripe avocado for a creamy, fresh twist. A squeeze of lime keeps it bright.
- Smoked Salmon: Top each egg with a tiny curl of smoked salmon and a pinch of fresh dill for an elegant brunch presentation.
- Buffalo Style: Mix in buffalo sauce and top with a tiny drizzle of blue cheese dressing and minced celery.
For more inspiration on building the perfect appetizer spread, Food Network’s deviled egg collection has some creative topping ideas worth browsing.
Nutritional Highlights
Classic Deviled Eggs are one of those rare appetizers that are genuinely satisfying without being nutritionally reckless. Each egg half delivers high-quality complete protein from both the white and the yolk, along with essential nutrients including choline (critical for brain function), vitamin D, and vitamin B12 — making them far more nourishing than most party snacks. The filling adds healthy fats from the mayonnaise that help keep you full and satisfied. At roughly 70–80 calories per deviled egg half depending on your mayo quantity, you can enjoy two or three as a light starter or snack without derailing your day. Eggs are also naturally gluten-free and low-carb, making this recipe a safe choice for guests with a wide range of dietary needs at your next gathering.
Frequently Asked Questions
Can I make Classic Deviled Eggs ahead of time?
Absolutely — and they’re actually better when you do. You have a few options depending on how far ahead you want to work. The boiled, peeled eggs can be stored in a bowl of cold water (submerged) in the refrigerator for up to 3 days before you fill them. The filling itself can be made up to 24 hours in advance and stored in a sealed piping bag or zip-lock bag in the fridge. For the best presentation and freshest texture, fill and garnish the eggs within 1–2 hours of serving. If you need to fill them earlier, store them in a single layer in an airtight container and add the paprika garnish right before they hit the table so it stays vibrant and fresh-looking.
Why are my deviled eggs filling watery or runny?
A runny filling is almost always caused by one of two things: too much liquid added to the filling, or using low-quality watery mayonnaise. First, make sure you’re measuring your vinegar carefully — a little goes a long way, and a teaspoon is usually all you need. Second, stick to full-fat, standard mayonnaise (Hellmann’s and Duke’s are both excellent choices). Light mayo and store-brand alternatives often have higher water content and will give you a looser filling. If your filling does come out too soft, refrigerate it for 30 minutes before piping — it will firm up nicely as it chills.
How do I store leftover deviled eggs and how long do they last?
Store leftover deviled eggs in a single layer in an airtight container in the refrigerator. They’ll keep well for up to 2 days, though the filling may absorb some color from the paprika and the whites can soften slightly over time. For the best results, if you know you’ll have leftovers, store the filled eggs and the paprika separately and dust right before serving. Do not freeze deviled eggs — the texture of both the whites and the mayo-based filling breaks down completely when frozen and thawed. They’re genuinely best enjoyed fresh within a day of making them, so make just the right amount for your crowd.
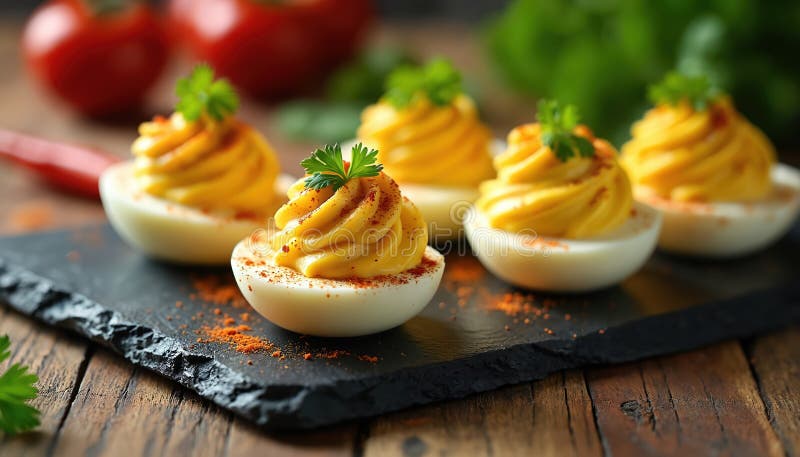
Ready to Make the Best Classic Deviled Eggs of Your Life?
This is the recipe you’ll make on repeat. Once you dial in your technique — the perfectly cooked yolks, the silky filling, the confident paprika dusting — you’ll be the person everyone asks to bring deviled eggs to every single gathering. And honestly? There are worse reputations to have.
If you’re building out a full appetizer table, pair these alongside our Restaurant Style Guacamole and a bowl of Fresh Pico de Gallo for a spread that covers every craving. Made these and loved them? Share them on Instagram and tag us — we love seeing your deviled egg spreads. Save this recipe to your Pinterest boards so it’s ready every time a potluck invitation lands in your inbox.
Find the complete recipe card below ↓
Classic Deviled Eggs
Equipment
- Medium saucepan
- Large bowl (for ice bath)
- Sharp knife
- Cutting board
- Medium mixing bowl
- Fork or fine mesh strainer
- Zip-lock bag or piping bag
- Serving platter
Ingredients
Eggs & Filling
- 6 large eggs 5–7 days old for easiest peeling
- 3 tablespoons mayonnaise full-fat, such as Hellmann's or Duke's
- 1 teaspoon yellow mustard
- 1 teaspoon white wine vinegar or apple cider vinegar
- 1/4 teaspoon fine sea salt plus more to taste
- 1/8 teaspoon black pepper freshly ground
- 1/4 teaspoon sweet paprika stirred into filling
Garnish
- 1/2 teaspoon sweet paprika for dusting the finished eggs
- 1 tablespoon fresh chives thinly sliced, optional
Instructions
Boil the Eggs
- Bring a medium saucepan of water to a full rolling boil over high heat. Using a slotted spoon, gently lower the eggs into the boiling water one at a time.
- Reduce heat to a gentle boil and cook the eggs for exactly 11 minutes.
- While the eggs cook, prepare an ice bath by filling a large bowl with cold water and a generous amount of ice. When the timer goes off, transfer the eggs immediately to the ice bath and let them sit for at least 10 minutes to stop the cooking and chill completely.
Peel and Halve
- Gently tap each egg all over on the counter to crack the shell, then peel under a thin stream of cool running water. The water helps get under the membrane for clean, smooth whites.
- Pat the peeled eggs dry with a paper towel. Slice each egg in half lengthwise with a sharp knife.
- Pop the yolks out into a medium mixing bowl and arrange the whites cut-side up on your serving platter.
Make the Filling
- Add the mayonnaise, yellow mustard, white wine vinegar, salt, pepper, and 1/4 teaspoon sweet paprika to the bowl with the yolks.
- Mash and mix vigorously with a fork until completely smooth and creamy. For an ultra-silky filling, press the mixture through a fine mesh strainer. Taste and adjust seasoning — add a pinch more salt, a drop more vinegar, or a touch more mustard as needed.
- The filling should be creamy and hold its shape when piped but not stiff. If it feels too thick, add 1/2 teaspoon more mayo and mix again.
Fill and Garnish
- Spoon the filling into a zip-lock bag (or piping bag fitted with a star tip). Press the filling into one corner, then snip off a small piece of the corner with scissors.
- Pipe the filling generously into each egg white half, making a slight mound above the rim of the white.
- Dust the finished eggs generously with the remaining sweet paprika. Top with sliced fresh chives if desired. Serve immediately or refrigerate covered for up to 2 hours before serving.
