

The Most Fun You’ll Ever Have Making Hot Cocoa
It started with a cold Tuesday evening, a restless eight-year-old, and absolutely zero desire to make anything complicated for dessert. I remembered a bag of chocolate chips sitting in the pantry and a silicone mold I’d bought on a whim months earlier — and that was the night hot chocolate bombs officially became a staple in our house. The look on my kid’s face when that chocolate sphere cracked open and a cloud of cocoa and mini marshmallows came swirling up through a mug of hot milk? Instant magic. No baking, no special equipment beyond a microwave and a silicone mold, and the whole project takes under an hour from start to finish.
What makes hot chocolate bombs such a winner for a practical family kitchen is that they check every box: they’re a crowd-pleaser for kids and adults alike, they’re wildly budget-friendly (a batch of eight costs a fraction of what you’d pay at a specialty shop), and they make absolutely stunning homemade gifts for the holidays, teacher appreciation, or really any time you want to show someone you care without spending a fortune. You can make a big batch on the weekend, stash them in the fridge, and hand them out all season long. They’re the ultimate make-ahead holiday treat — and trust me, once you see how simple the process is, you’ll wonder why you ever paid $6 each for them at a coffee shop.
These hot chocolate bombs are built around a practical, no-fuss method: melt good chocolate, coat silicone molds, fill with a cocoa mix and marshmallows, seal the two halves together, and you’re done. No candy thermometer required, no tempering expertise necessary — just a little patience and a few simple pantry staples. Whether you’re making them with the kids on a snow day or batch-producing them for holiday gift bags, this recipe is completely repeatable and totally beginner-friendly.
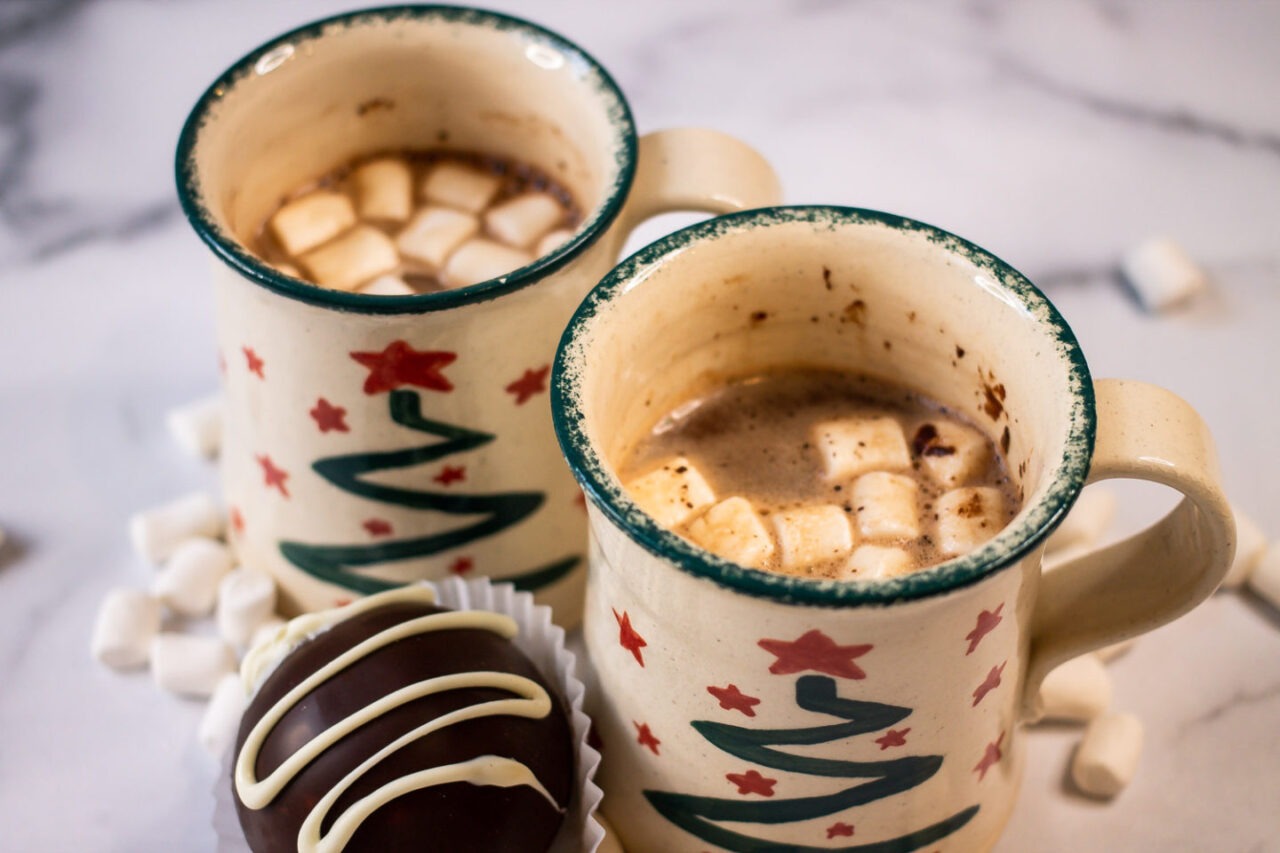
Why You’ll Love This Recipe
- No baking required. These come together entirely with a microwave and a silicone mold — no oven needed.
- Budget-friendly. A batch of 8 bombs costs just a few dollars in ingredients, far cheaper than store-bought.
- Perfect make-ahead treat. Make them days in advance and store in the fridge until ready to gift or enjoy.
- Endlessly customizable. Change up the filling, drizzle, or chocolate color to suit any occasion or taste preference.
- Kid-friendly activity. Children love helping fill and seal the bombs — it’s as much fun to make as it is to drink.
- Incredible gift idea. Package them in a clear bag with a ribbon and a tag — instant gourmet gift from your kitchen.
Key Ingredients
The star of this recipe is high-quality semi-sweet or milk chocolate — this is not the place to skimp, since the chocolate shell is literally the entire structure of your bomb. Use chocolate melting wafers or a good chocolate bar chopped finely; both melt smoothly and set up with a satisfying snap. Hot cocoa mix is the heart of the filling — a good quality mix with real cocoa powder gives you that rich, comforting flavor that blooms into the milk when the shell melts away. Mini marshmallows are non-negotiable in my house; they add that classic hot cocoa nostalgia and look absolutely delightful swirling up out of the mug. A pinch of sea salt inside the shell works wonders to deepen the chocolate flavor without making things taste salty. For the finishing touch, a drizzle of white chocolate over the outside of each bomb elevates them from homemade to genuinely impressive — and it takes all of two minutes extra. Finally, a splash of vanilla extract stirred into the hot cocoa mix filling rounds out the flavor and gives the whole drink a bakery-style warmth.
Pro Tips & Variations
Tips for Perfect Hot Chocolate Bombs Every Time
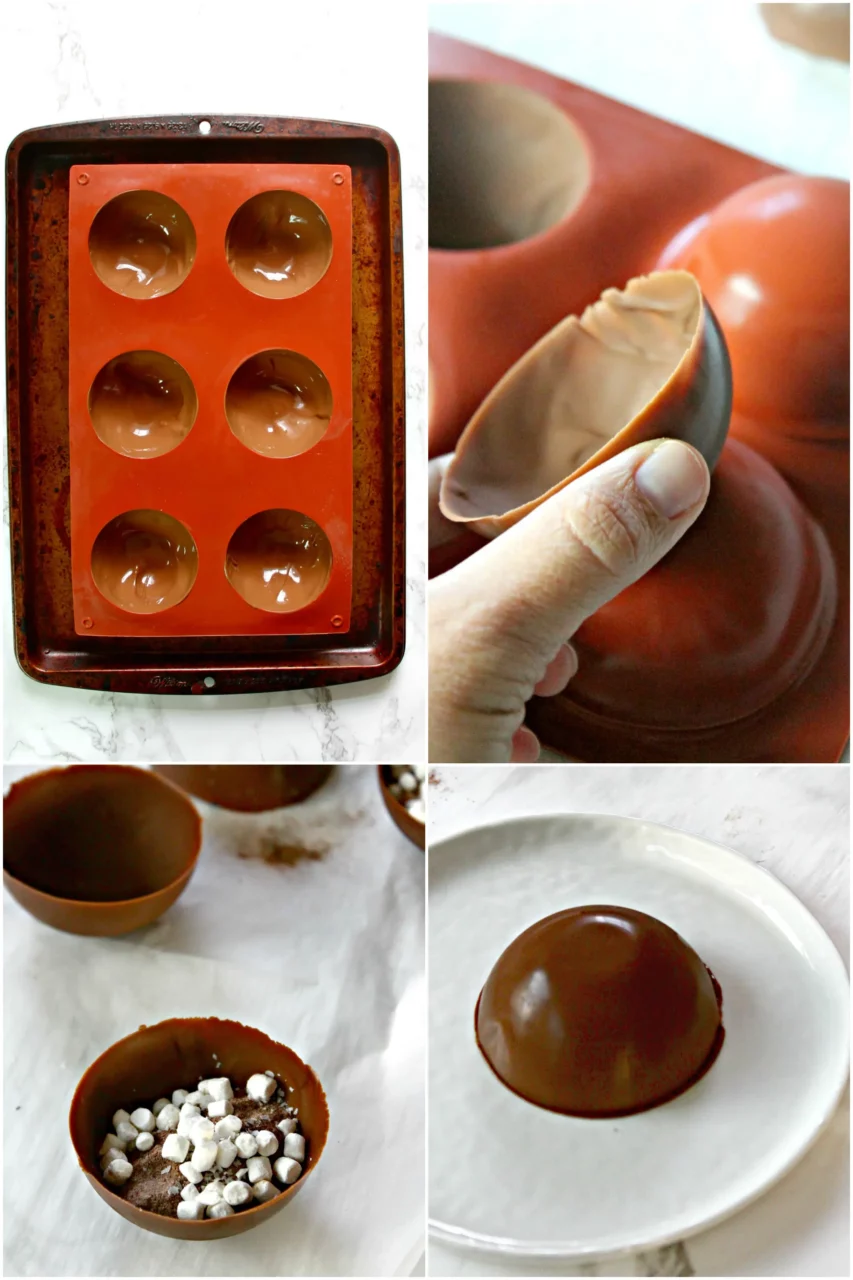
- Coat twice, always. One layer of chocolate is too thin and your shells will crack. Let the first coat set in the fridge for 5 minutes, then apply a second coat before chilling again. This is the number one tip for structurally sound bombs.
- Don’t rush the chilling. Give each coat at least 5–10 minutes in the fridge to set completely. Trying to pop them out too early is the fastest route to cracked shells.
- Warm your plate for sealing. To fuse the two halves together, warm a small plate in the microwave for 30 seconds, then gently press one shell half face-down onto the warm plate for a second or two. The edge will melt just slightly — set it on top of the filled half and it will seal perfectly as it cools.
- Use a silicone mold. Metal molds make unmolding nearly impossible without cracking the shells. A flexible silicone sphere mold (2.5 to 3 inch diameter) is the ideal tool and costs less than $10 online.
- Refrigerate, don’t freeze. Freezing can cause condensation when the bombs come to room temperature, dulling the chocolate’s shine and causing spotting.
Fun Variations to Try
- Peppermint Mocha Bombs: Add a 1/4 teaspoon of peppermint extract to your melted chocolate and use a mocha-flavored cocoa mix inside. Crush candy cane over the top for a festive finish.
- Mexican Hot Chocolate Bombs: Mix a pinch of cinnamon and a tiny pinch of cayenne pepper into the cocoa filling for a warming, spiced-chocolate kick.
- Salted Caramel Bombs: Drop a soft caramel candy or a drizzle of caramel sauce inside along with the cocoa mix before sealing.
- White Chocolate Raspberry: Use white chocolate melting wafers for the shell, fill with a raspberry hot cocoa mix, and drizzle with pink-tinted white chocolate.
- Double Chocolate Dark: Use dark chocolate (70% cacao) for the shell and fill with a dark cocoa mix for a rich, less-sweet adult version.
Looking for more fun holiday treats to make with the family? Our Snowball Cookies — Buttery Pecan Cookies Rolled in Powdered Sugar are another no-fuss, crowd-pleasing bake that pairs beautifully alongside a mug of hot chocolate bomb cocoa. And if you’re building out a full holiday spread, our Christmas Charcuterie Board is the ultimate crowd-pleaser that takes less effort than it looks — perfect for the same cookie exchange or holiday party where these bombs will shine.
For more on the science of tempering chocolate and why chocolate melting wafers are a smart shortcut, Serious Eats has an excellent deep dive into chocolate tempering that’s worth a read if you want to level up your chocolate work. And if you’re exploring more creative hot cocoa ideas, Food Network’s collection of hot chocolate recipes offers plenty of inspiration for the season.
Making Hot Chocolate Bombs for Gifting
One of the best things about this recipe from a practical standpoint is how naturally it scales for gifting. A single batch makes eight bombs, but doubling or tripling is completely straightforward — just melt more chocolate and work in batches. Once your bombs are decorated and fully set, store them in a single layer in an airtight container in the refrigerator for up to two weeks. When packaging as gifts, let them come to room temperature for about 15 minutes before placing in a gift box or bag to avoid condensation inside the packaging. A simple kraft paper box lined with tissue paper, tied with a ribbon, looks absolutely gorgeous and costs almost nothing. Add a handwritten card with instructions — “Drop into 8–10 oz of hot milk, stir, and enjoy!” — and you have a gift that feels genuinely thoughtful and special.
How to Serve Hot Chocolate Bombs
To activate your hot chocolate bomb, heat 8 to 10 ounces of whole milk until steaming (around 160–170°F — hot enough to melt the shell but not scalded). Place the bomb in a large mug, pour the hot milk slowly over or around it, and watch the magic happen. The shell melts open, the cocoa mix dissolves, the marshmallows float up, and within about 30 seconds you have a fully loaded mug of rich, creamy hot chocolate. Give it a quick stir to make sure everything is fully incorporated, then top with whipped cream if you’re feeling indulgent. Whole milk gives the richest result, but oat milk works beautifully if you prefer a dairy-free option — just make sure your chocolate shell and cocoa mix are also dairy-free.
Nutritional Highlights
Each hot chocolate bomb (when prepared with 8 oz of whole milk) comes in at approximately 280–320 calories, making it a genuinely satisfying dessert-in-a-mug rather than just a sugary drink. You get real fat from the chocolate shell and milk, which helps keep hunger at bay and gives you that satisfying, cozy warmth. Using a quality cocoa mix — particularly one made with real cacao — delivers a dose of flavonoids alongside the indulgence. If you’re watching sugar intake, opt for a dark chocolate shell and a reduced-sugar cocoa mix: you’ll keep all the drama and flavor while trimming back the sweetness. For the holidays, a little indulgence is part of the season — and when you’re making these at home with simple ingredients, you’re in complete control of exactly what goes inside.
If you love easy, cozy holiday recipes, you’ll also want to bookmark our Eggnog French Toast — Custardy Baked Holiday Breakfast for those slow Christmas morning moments when you want something special without a lot of fuss. It’s the perfect companion to a steaming mug of hot chocolate bomb cocoa.
The Bottom Line
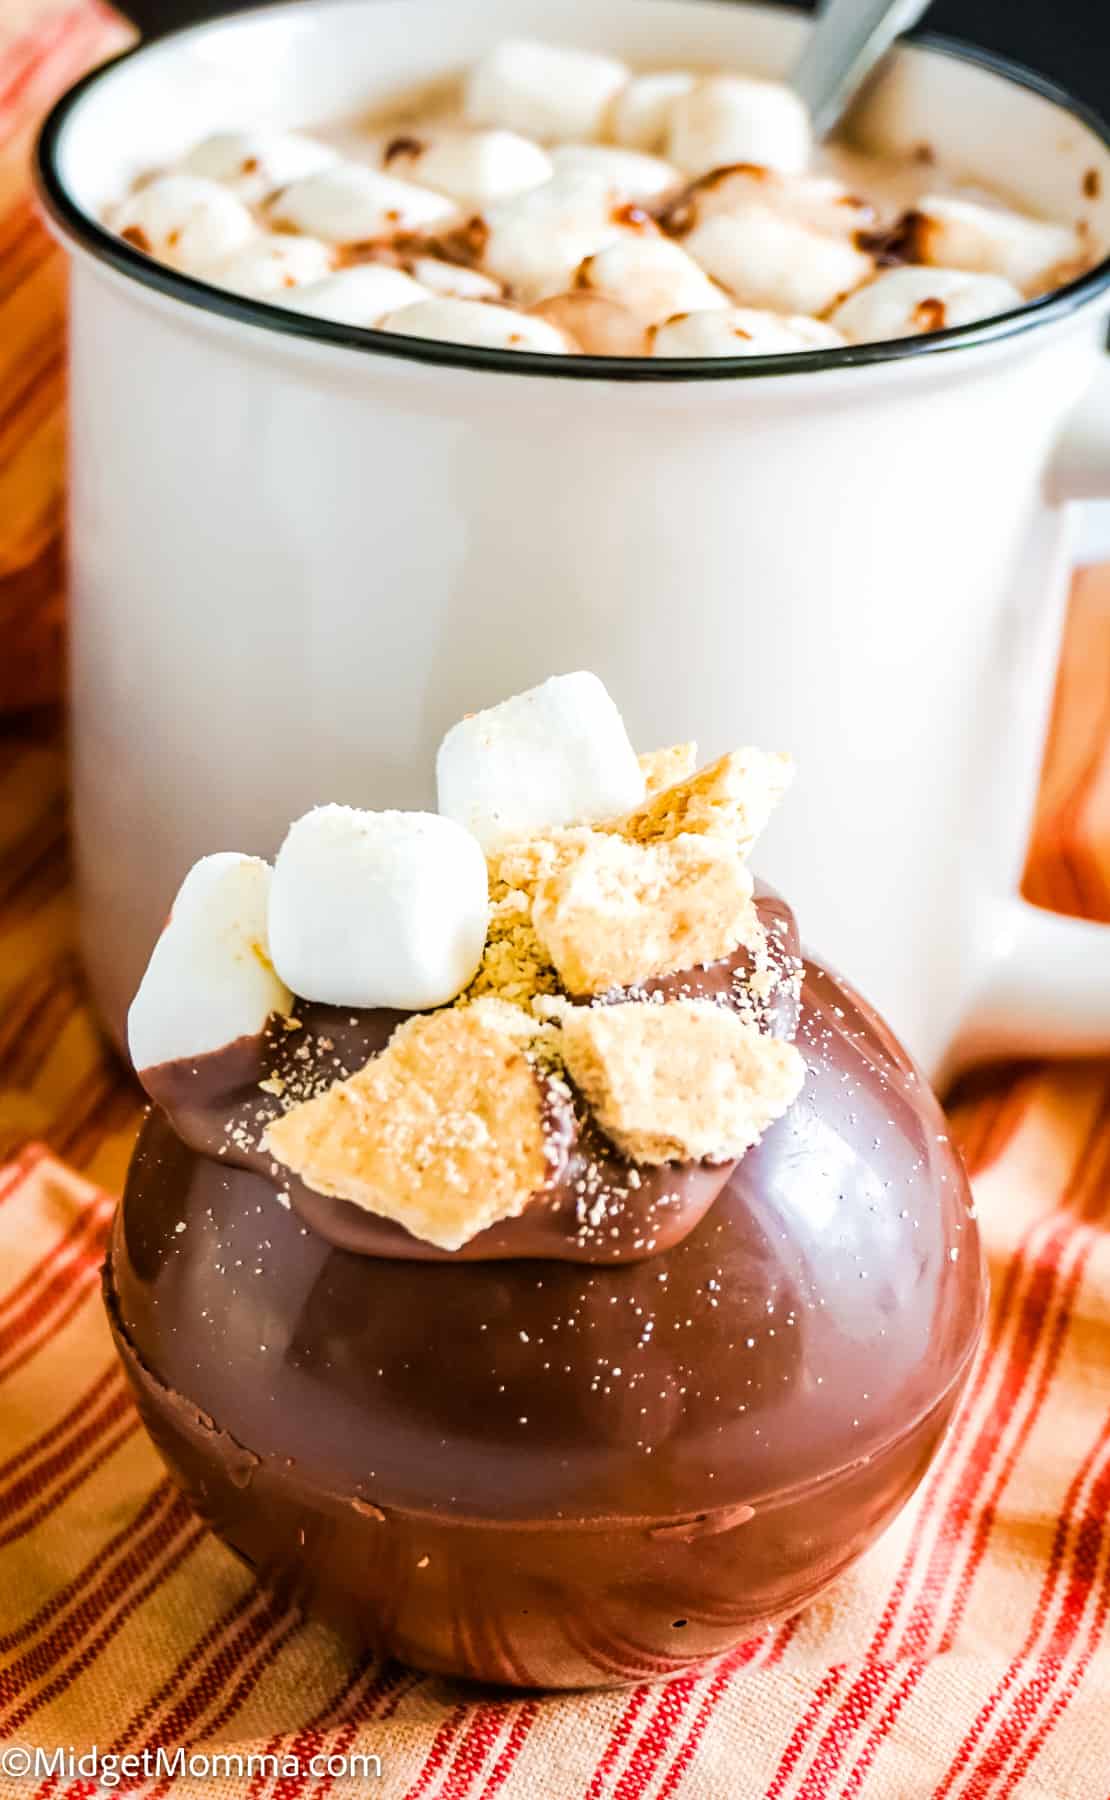
Hot chocolate bombs are one of those rare recipes that look incredibly impressive but require almost no skill — just a little time, good chocolate, and a silicone mold. They’re the perfect project for a weekend afternoon, a holiday activity with the kids, or a batch-gifting mission that lets you give something genuinely homemade and magical without spending hours in the kitchen. Once you make your first batch, you’ll be hooked on how satisfying it is to watch that shell bloom open in a mug of hot milk. Make a double batch, stash them in the fridge, and share the magic all season long. If you try these, leave a comment below and let me know what variation you made — and don’t forget to tag us on social so we can see your beautiful bombs!
Find the complete recipe card below ↓
Hot Chocolate Bombs
Equipment
- Silicone sphere mold (2.5–3 inch)
- Microwave-safe bowls
- Small offset spatula or pastry brush
- Baking sheet
- Parchment paper
- Small plate
Ingredients
Chocolate Shells
- 16 oz chocolate melting wafers or high-quality semi-sweet chocolate finely chopped if using a bar; divided
- 1 oz white chocolate melting wafers for drizzle decoration
Filling
- 1/2 cup hot cocoa mix about 1 tablespoon per bomb
- 1/2 cup mini marshmallows about 1 tablespoon per bomb
- 1/4 tsp vanilla extract optional, stir into cocoa mix
- 1 pinch sea salt optional, adds depth
For Serving
- 8 oz whole milk per bomb heated to steaming, about 160–170°F
- whipped cream optional topping
Instructions
Melt the Chocolate
- Place 12 oz of the chocolate melting wafers in a microwave-safe bowl. Microwave in 30-second intervals at 50% power, stirring after each interval, until fully melted and smooth — about 90 seconds to 2 minutes total. Do not overheat.
- Reserve the remaining 4 oz of chocolate for a second coat.
Coat the Molds — First Layer
- Using a small offset spatula, spoon, or pastry brush, spoon about 1 tablespoon of melted chocolate into each half-sphere cavity of your silicone mold. Use the back of the spoon or a brush to spread the chocolate evenly up the sides and over the rim, making sure there are no thin or bare spots.
- Place the mold on a baking sheet and refrigerate for 5–7 minutes until fully set.
Apply the Second Coat
- Melt the remaining 4 oz of chocolate. Apply a second coat to each cavity, again spreading all the way to the rim and paying extra attention to the edges. This second coat gives you thick, sturdy shells that won't crack.
- Refrigerate again for 10 minutes until completely firm and set.
Unmold the Shells
- Gently flex the silicone mold from the bottom to release each chocolate shell. Work slowly and carefully — press up from beneath rather than pulling from the sides. Place the shells on a parchment-lined baking sheet.
- You should have 16 half-sphere shells total (2 halves per bomb).
Fill the Shells
- Choose 8 halves to be the 'bottom' of your bombs (these get filled). Add 1 tablespoon of hot cocoa mix and 1 tablespoon of mini marshmallows to each bottom half. Add a tiny pinch of sea salt and a drop of vanilla extract if using.
Seal the Bombs
- Microwave a small plate for 30 seconds until warm (not hot). Take one of the unfilled shell halves and gently press its rim face-down onto the warm plate for 1–2 seconds, just until the edge begins to melt slightly.
- Immediately press the warm-edged shell on top of a filled half, lining up the edges. Hold gently for 10–15 seconds until sealed. Place on a parchment-lined baking sheet and repeat with remaining shells. Refrigerate for 10 minutes to set the seams.
Decorate
- Melt the white chocolate in a small bowl. Transfer to a zip-top bag and snip a tiny corner off. Drizzle over the sealed bombs in a zigzag pattern. Add sprinkles, crushed candy cane, or a dusting of cocoa powder if desired.
- Refrigerate until the decoration is set, about 5 minutes.
Serve
- Heat 8–10 oz of whole milk per serving until steaming (160–170°F). Place one hot chocolate bomb in a large mug. Pour the hot milk over or around the bomb and watch it melt open! Stir to combine, top with whipped cream if desired, and enjoy immediately.
