

When a Bag of Chips Becomes the Star of the Campsite
There’s a particular kind of magic that happens around a campfire — the kind where hunger hits hard, patience runs thin, and everyone is eyeing whatever snacks are left in the cooler. We’ve all been there: it’s the second night of a camping trip, the kids are restless, and the elaborate campfire stew you planned suddenly feels like way too much work. That’s exactly the moment Dutch Oven Campfire Nachos were made for. Born out of pure camping necessity and pantry-staple brilliance, this recipe transforms a humble bag of tortilla chips into a bubbling, melty, crowd-silencing meal that takes less than 30 minutes from start to finish.
What makes this recipe truly special for families and busy outdoor cooks isn’t just the flavor — it’s the sheer practicality of it. Everything goes into one pot. There’s no juggling multiple pans over uneven heat, no fancy techniques, and no ingredients that require refrigeration overnight. Black beans from the can, a jar of your favorite salsa, a generous handful of shredded cheese, and a sturdy bag of tortilla chips are genuinely all you need. This is the kind of recipe that earns a permanent spot in your camping meal rotation, your backyard bonfire menu, and honestly, your weeknight dinner playbook too — because yes, this works beautifully in your oven at home on a Tuesday.
At Jango Recipes, we’re all about getting maximum flavor out of simple, affordable ingredients — the kind of cooking that feeds a hungry crowd without draining the grocery budget or demanding a culinary degree. Dutch Oven Campfire Nachos are the perfect embodiment of that philosophy. They’re endlessly customizable, deeply satisfying, and genuinely fun to make and share. Whether you’re gathered around a fire pit under the stars or huddled around the kitchen table, this dish delivers every single time.
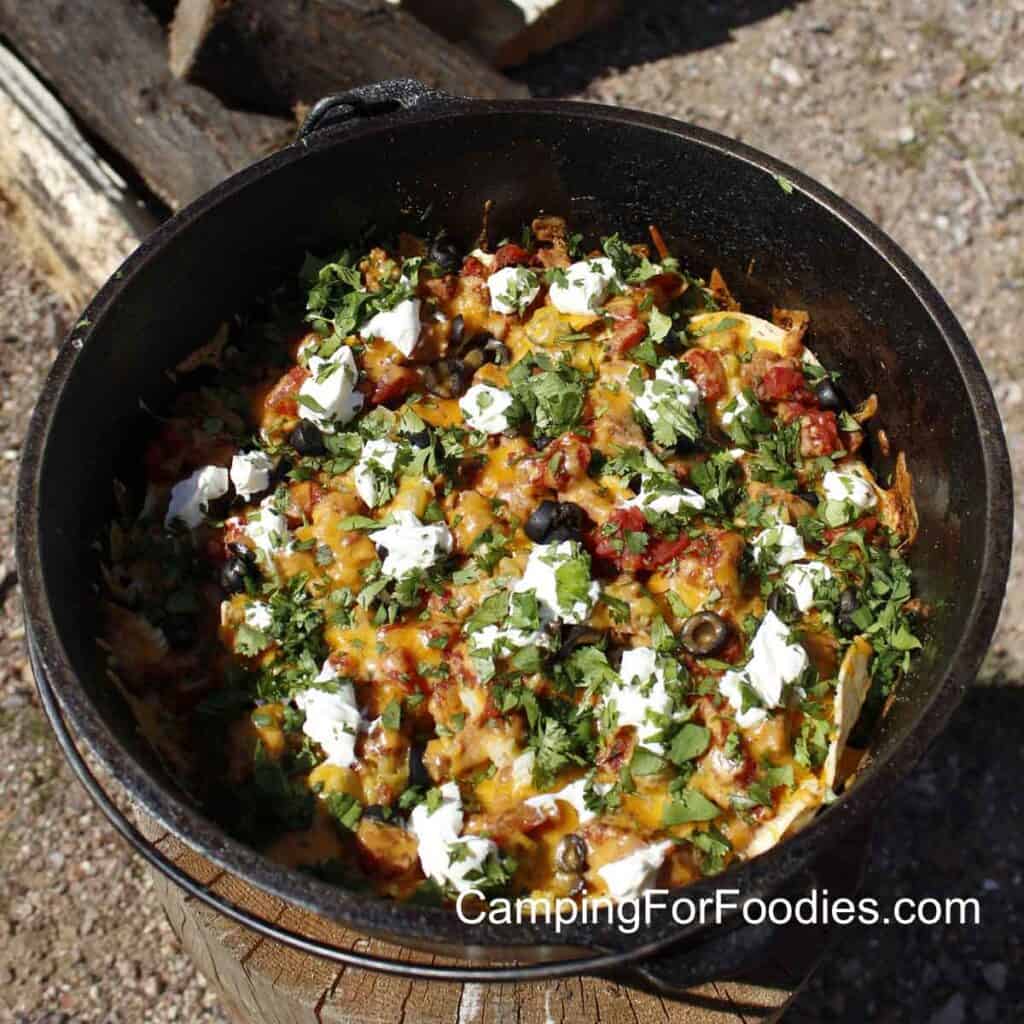
Why You’ll Love This Recipe
- One-pot wonder: Everything cooks in the Dutch oven — minimal dishes, maximum satisfaction.
- Budget-friendly: Feeds 4–6 people for under $10 using pantry staples you likely already have.
- Ready in under 30 minutes: From assembly to serving, this is a true weeknight (or campsite) hero.
- Completely customizable: Add jalapeños, leftover rotisserie chicken, corn, or whatever you’ve got on hand.
- Kid-approved: Melty cheese and chips? You’ll have zero complaints from the under-12 crowd.
- Works at home too: Bake it in your oven at 375°F for the same incredible result without the campfire.
- Great for meal prep: Pre-portion your toppings at home in zip-lock bags so campsite assembly is a breeze.
Key Ingredients and Why They Matter
The beauty of Dutch Oven Campfire Nachos lies in how a small handful of humble ingredients come together into something that genuinely feels indulgent. Tortilla chips are the obvious foundation here, but not all chips are created equal for this application — you want sturdy, thick-cut chips that can handle the weight of toppings and a bit of steam heat without turning to mush. Thin restaurant-style chips tend to collapse, so reach for a heartier bag when you’re shopping. Shredded cheese is where the magic really happens. A combination of sharp cheddar and Monterey Jack melts beautifully and gives you that classic nacho pull and color. Pre-shredded cheese works perfectly fine here, which is exactly the kind of convenience win we love for camping cooking.
Black beans do double duty in this recipe — they add plant-based protein that makes this dish genuinely filling, and they bring an earthy depth that balances the saltiness of the chips and cheese. One standard 15-oz can, drained and rinsed, is all you need, and it stretches the entire dish significantly without adding much cost. Salsa is your all-in-one flavor bomb: it brings acidity, a hint of heat, natural sweetness from tomatoes, and enough moisture to help steam the cheese into full melt mode. A chunky medium salsa is our go-to — it has enough texture to feel substantial in every bite. Finally, don’t underestimate a drizzle of olive oil or cooking spray on the bottom of your Dutch oven. That thin layer of fat is the difference between nachos that lift out cleanly in gorgeous layers and nachos that weld themselves to the bottom of your pot.
Pro Tips & Variations for the Best Dutch Oven Campfire Nachos
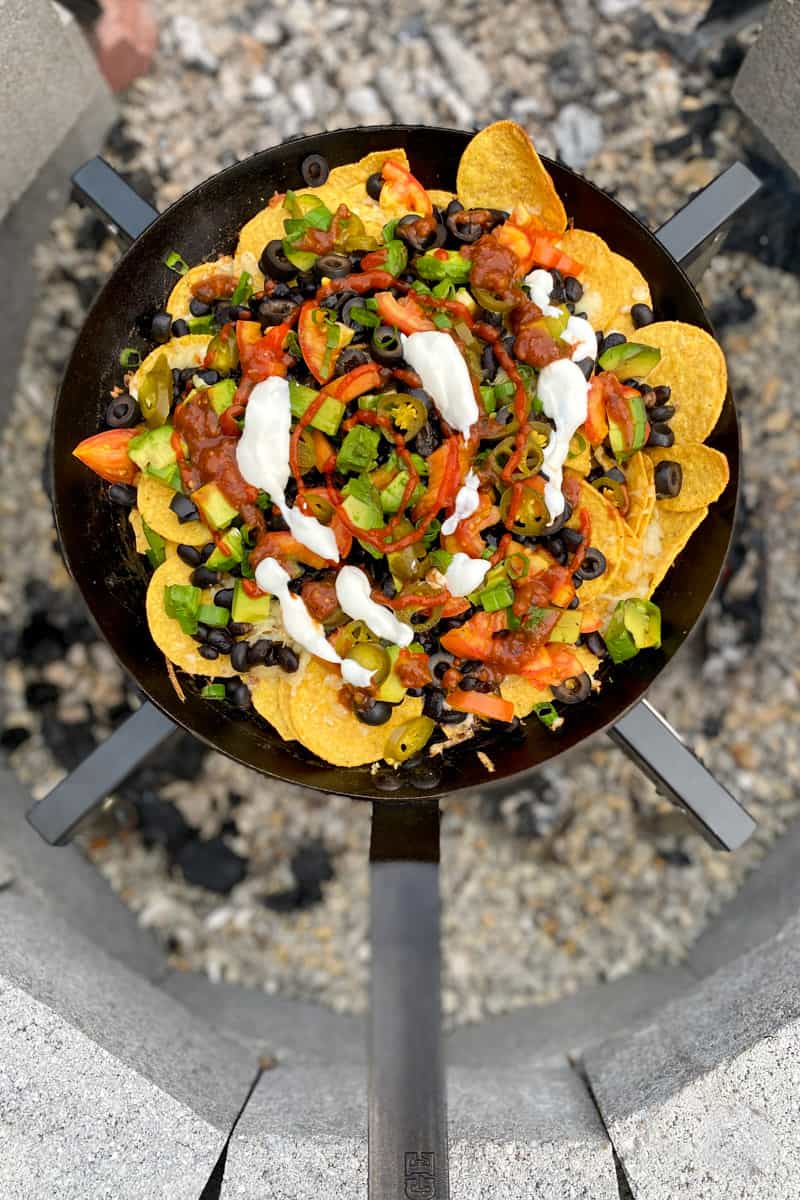
Layer like you mean it. The single biggest mistake people make with campfire nachos is dumping everything in at once. Layering — chips, then cheese, then beans and salsa, then another layer of chips, then more cheese — ensures every chip gets some love. A single-layer approach means the chips on top stay dry while the bottom ones get soggy. Two to three layers is the sweet spot for a standard 5-quart Dutch oven.
Control your heat carefully. Over a campfire, this is the trickiest part. You want medium, steady heat — not a raging inferno. If you’re using coals, aim for about 10–12 coals underneath and another 8–10 on the lid. This top-down heat is what melts the cheese evenly and gives you that beautiful golden finish. If you’re cooking at home, 375°F in a conventional oven works perfectly. According to Serious Eats’ comprehensive Dutch oven guide, managing even heat distribution in a Dutch oven is all about coal placement and lid rotation — rotating the lid a quarter turn every few minutes helps avoid hot spots.
Pre-prep your toppings at home. This is the meal prep tip that makes campsite cooking feel effortless. Before you leave home, pre-shred your cheese and store it in a zip-lock bag. Drain and rinse your black beans and seal them in a small container. If you’re adding proteins like leftover chicken or ground beef, cook and season them ahead of time so all you need to do is assemble and heat. This turns campsite cooking into a 10-minute job instead of a 40-minute production.
Don’t skip the foil tent trick. If you notice the top chips are starting to brown faster than the cheese is melting, lay a loose piece of aluminum foil over the top of the Dutch oven (not sealing it, just tenting) for the last few minutes. This traps a little steam and encourages the cheese to melt fully without burning the surface chips.
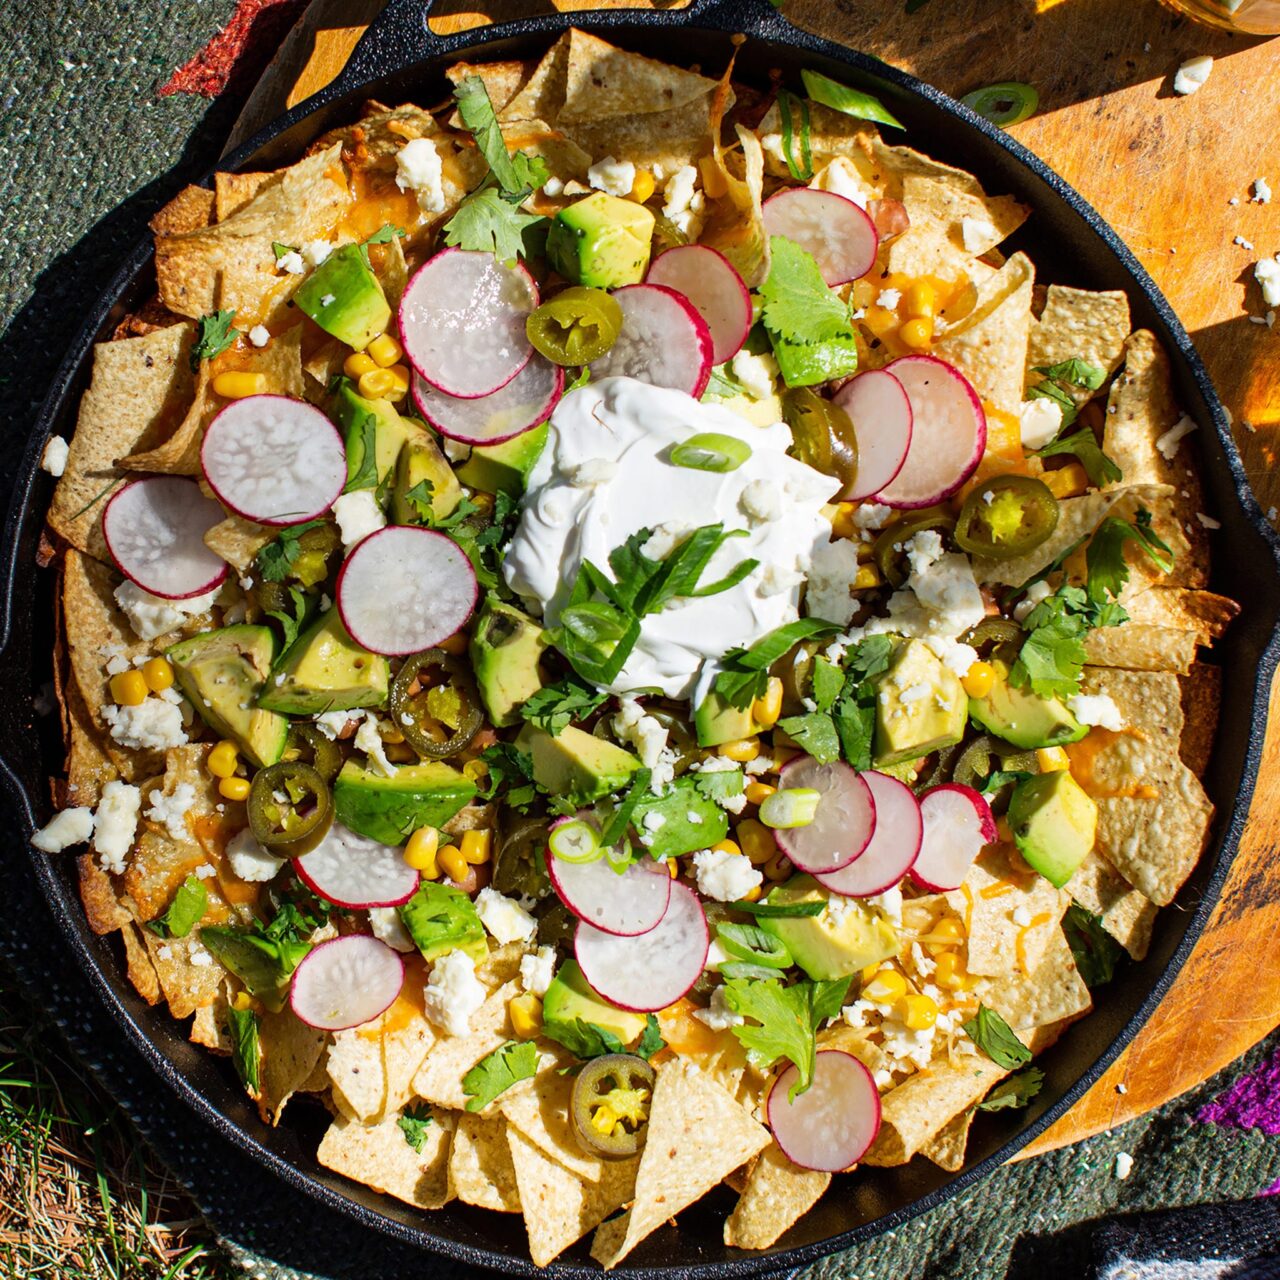
Make it a full meal with smart additions. While this recipe is incredible as-is, a few easy add-ins can turn it from a hearty snack into a complete dinner. Leftover rotisserie chicken or ground beef (pre-cooked at home) are obvious upgrades. Pickled jalapeños add a bright punch of heat and acidity that cuts through the richness. A can of corn, drained, adds sweetness and color. For a fresh finish after cooking, top with sour cream, sliced avocado, fresh cilantro, or a squeeze of lime. If you love bold flavors, take a look at our Healthy Stuffed Bell Peppers with Ground Turkey for another easy, protein-packed weeknight recipe that uses simple pantry staples just as cleverly.
Vegetarian or vegan variations: This recipe is already naturally vegetarian if you use vegetarian salsa. For a vegan version, swap the dairy cheese for your favorite plant-based shredded cheese — it melts reasonably well in the Dutch oven environment and holds up better than you’d expect. Add a can of pinto beans alongside the black beans for extra heartiness.
Backyard bonfire version: If you’re cooking these over a backyard fire pit rather than a full camping setup, a tripod grill grate over the fire gives you excellent heat control. You can also nestle the Dutch oven directly into a bed of hardwood coals for that authentic smoky flavor that takes these nachos to an entirely different level. Food Network’s guide to campfire cooking has excellent advice on building a proper coal bed for even, sustained heat — worth a read before your next outdoor cooking adventure.
If you love the idea of grilled and fire-adjacent cooking, our Grilled Vegetable and Goat Cheese Tart is another rustic, crowd-pleasing recipe that brings serious flavor with minimal fuss — perfect for rounding out an outdoor entertaining spread.
Nutritional Highlights
A serving of Dutch Oven Campfire Nachos (roughly one quarter of the Dutch oven) lands at approximately 420 calories, making it a genuinely satisfying meal rather than just a snack. The black beans are the nutritional MVP here — they contribute roughly 7–8 grams of plant-based protein per half-cup serving, along with a meaningful dose of dietary fiber that promotes fullness and supports digestive health. The cheese adds calcium and additional protein, while the tortilla chips provide quick-burning carbohydrates that are perfect fuel for active outdoor days. If you’re watching sodium, opt for a low-sodium salsa and rinse your black beans thoroughly — that simple step removes up to 40% of the canned sodium. You can also choose baked tortilla chips to trim fat slightly without sacrificing the satisfying crunch. For a lighter finish, swap sour cream for plain Greek yogurt, which is virtually identical in taste and texture but adds protein while reducing fat.
Frequently Asked Questions
Can I make Dutch Oven Campfire Nachos ahead of time?
You absolutely can — and we strongly recommend doing some prep work ahead of time for the smoothest campfire cooking experience. While you won’t want to fully assemble and cook the nachos in advance (chips will get soggy sitting in salsa), you can do all your ingredient prep at home. Pre-shred your cheese and bag it up. Drain, rinse, and seal your black beans. If you’re adding any cooked proteins like ground beef or chicken, cook and season them at home and store them in a sealed container in the cooler. You can even pre-portion your salsa into a smaller jar so you’re not lugging a full-size jar on your trip. At the campsite, assembly takes less than 5 minutes, and you’re cooking immediately — no fuss, no mess.
What size Dutch oven works best for this recipe?
A 5-quart Dutch oven is the sweet spot for this recipe, comfortably serving 4–6 people with good layering depth. If you have a 6-quart, it works just as well — your layers will be slightly shallower, which means slightly crisper chips throughout, which many people actually prefer. A 3-quart Dutch oven will work for 2–3 people but you’ll want to limit yourself to two layers to avoid overflow. The shape matters too — a standard round Dutch oven heats more evenly than an oval for campfire use since it distributes coals more symmetrically. Whatever size you use, make sure it has a tight-fitting lid and is made of true cast iron, which holds and distributes heat far better than enameled cast iron or aluminum camping cookware for this application.
How do I store and reheat leftover campfire nachos?
Honestly, the nacho experience is at its absolute peak the moment it comes out of the Dutch oven, so we always recommend serving immediately and eating every last chip while they’re hot and melty. That said, if you do have leftovers, transfer them to an airtight container and refrigerate for up to 2 days. To reheat, spread them on a baking sheet in a 375°F oven for 8–10 minutes — this crisps the chips back up far better than a microwave, which will make them chewy and sad. At the campsite, you can reheat directly in the Dutch oven over low coals with the lid on for 5–7 minutes, checking frequently. Fresh toppings like sour cream, avocado, and cilantro should always be added after reheating, never before storing.
Ready to Make the Best Campfire Nachos of Your Life?
Dutch Oven Campfire Nachos are proof that you don’t need fancy ingredients, complex techniques, or hours of cooking time to feed a crowd something truly delicious. Whether you’re making these over glowing coals under a sky full of stars or sneaking them into a regular Tuesday night dinner rotation, they deliver that rare combination of ease, flavor, and pure crowd-pleasing satisfaction every single time. The Dutch oven does all the heavy lifting — your job is just to layer generously, keep an eye on the heat, and get ready for everyone at the table (or campsite) to ask for more.
If you tried this recipe, we’d absolutely love to hear how it turned out! Drop a comment below, rate the recipe, and share a photo of your creation. Tag us on social media so we can see your campfire setup — nothing makes us happier than seeing this recipe come to life in the wild. Save this post for your next camping trip, pin it for your next backyard bonfire, and share it with any fellow outdoor cooking enthusiasts in your life. Happy cooking, and happy eating!
Find the complete recipe card below ↓
Dutch Oven Campfire Nachos
Equipment
- 5-quart cast iron Dutch oven with lid
- Heat-resistant gloves or oven mitts
- Long metal tongs (for handling coals)
- Lid lifter or sturdy hook (for campfire use)
- Can opener
- Measuring cups
Ingredients
Main Ingredients
- 9 oz thick-cut tortilla chips sturdy restaurant-style or multigrain chips work best
- 2 cups shredded cheese sharp cheddar and Monterey Jack blend recommended
- 15 oz canned black beans drained and rinsed
- 1 cup chunky salsa medium heat recommended; use mild for kids
- 1 tablespoon olive oil or cooking spray for coating the Dutch oven bottom
Optional Toppings (add after cooking)
- 1/2 cup sour cream or plain Greek yogurt for a lighter option
- 1 avocado sliced or roughly mashed
- 2 tablespoons pickled jalapeño slices optional, for heat
- 1/4 cup fresh cilantro roughly chopped
- 1 lime cut into wedges for squeezing
- 1/4 cup canned corn drained, optional
Instructions
Prepare the Dutch Oven
- If cooking over a campfire, build a good coal bed and allow it to burn down to steady, medium coals — you want glowing coals, not active flames. If cooking at home, preheat your oven to 375°F.
- Lightly coat the inside bottom and lower sides of a 5-quart Dutch oven with olive oil or cooking spray. This prevents sticking and helps the bottom layer of chips crisp slightly.
Layer the Nachos
- Create your first layer: spread a single even layer of tortilla chips across the bottom of the Dutch oven, overlapping slightly to cover the base completely.
- Scatter roughly one-third of the shredded cheese evenly over the chips, then spoon about one-third of the black beans over the cheese, and drizzle or dollop about one-third of the salsa over the beans.
- Repeat the layering process — chips, cheese, black beans, salsa — for a second layer. Finish with a final top layer of chips, then a generous final layer of shredded cheese on top. (The cheese on top is important — it seals in moisture and creates a beautiful golden crust.)
Cook the Nachos
- Place the lid firmly on the Dutch oven. If cooking over campfire coals, use heat-resistant gloves or a lid lifter to position the Dutch oven over 10–12 coals. Carefully place 8–10 additional coals on top of the lid using long tongs to create top-down heat.
- Cook for 15–20 minutes, rotating the lid a quarter turn every 5 minutes to ensure even heat distribution. Avoid lifting the lid during the first 12 minutes to trap heat and allow the cheese to melt fully.
- If cooking in a home oven, place the Dutch oven (with lid on) in the preheated 375°F oven and bake for 18–20 minutes, or until cheese is fully melted and bubbling.
- After 15–18 minutes, carefully lift the lid to check: the cheese should be fully melted, bubbly, and starting to turn golden at the edges. If the top chips look like they may be browning too fast, tent loosely with foil for the final few minutes.
Serve
- Carefully remove the Dutch oven from the heat and place on a heat-safe surface. Remove the lid away from you to avoid steam burns.
- Add your fresh toppings: dollops of sour cream, slices of avocado, pickled jalapeños, fresh cilantro, and a squeeze of lime. Serve immediately directly from the Dutch oven — set it in the center of the table or picnic blanket and let everyone dig in.
